
During woodworking workshops, I often get asked which hand tools are worth buying when starting out in woodworking, and which marking tools I recommend—including the square. In a previous post about marking tools, I discussed in detail how to work with a square – Marking Out – Basic Principles – Square and Knife – Bensari Workshop
The topic of the square seems trivial at first—it’s just a simple tool used to mark a right angle. However, many squares fail to provide a true 90-degree angle. But let’s start from the beginning.
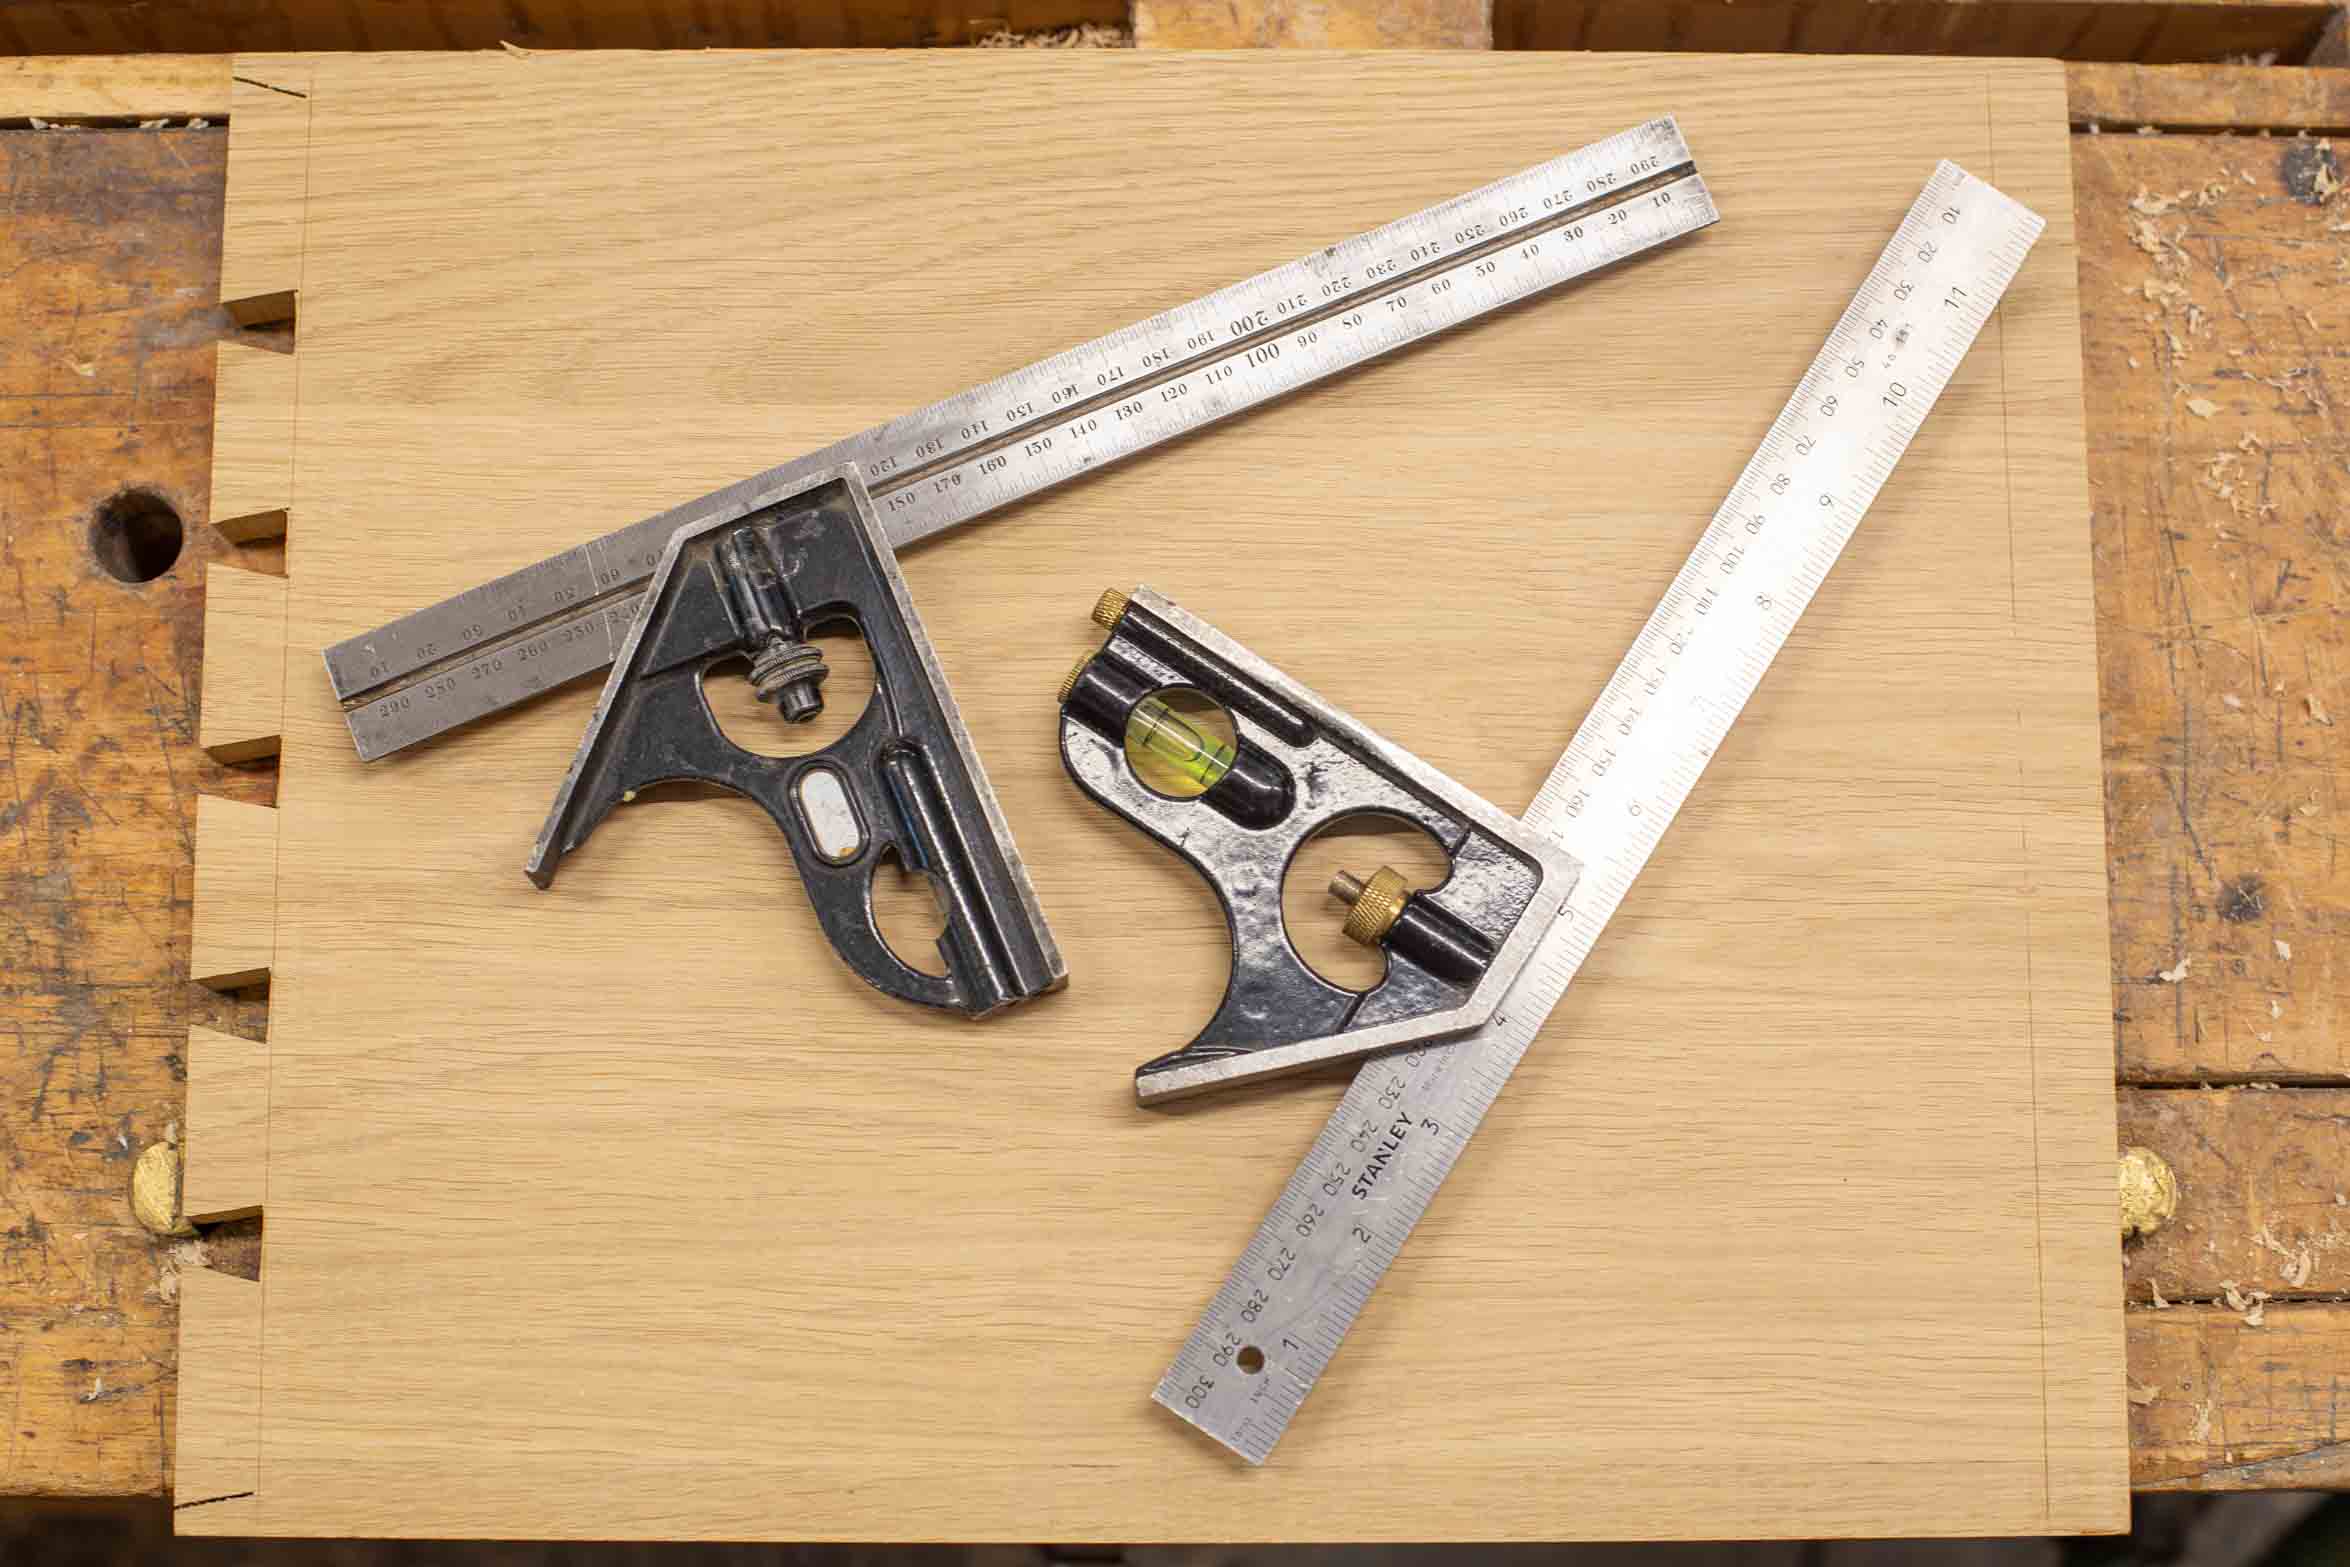
Combination Square – What Is It?
A woodworking combination square is used for marking and checking 90-degree angles during woodworking tasks. It consists of a ruler and a movable base or head.
Why do we need a square or a right angle in woodworking? Many people treat right angles as the ultimate symbol of precision and quality. But measurement and geometry don’t define quality in the humanistic sense. Whether a table is 25 inch or 24.8 inch in diameter doesn’t impact its usability or beauty. The same applies to right angles. Many furniture pieces deviate slightly from perfect 90°—and we don’t mind. In my woodworking courses, I show collectible pieces I’ve built where lippings slats join at an angle (definitely not a right angle  ), and no one finds that disturbing.

We’re more likely to notice when two parts are not parallel, which impacts visual harmony more than slight angular deviation. So why use a right angle?
Right angles help us build reference lines that support clean and discreet joinery. But achieving a true right angle depends not only on the square, but also on the reference edge. And that edge isn’t always flat. That’s key. We must position both the tool and reference surface correctly. See Figure 1.

The difference between the top and bottom drawings comes from the reference edge: the top is straight, the bottom is curved. Even correctly marked right angle will diverge if the edge is not straight. Does it always matter? The honest answer is: “it depends.” Geometry is just a tool—its purpose is defined by context. In my “Mortise and Tenon” course, we build a cutting board with breadboard ends (Photo 2). A slight misalignment would hardly be noticeable. The reference edge just needs to be relatively straight.

Moreover, the parallelism of those lines doesn’t matter for this construction.
It’s a different story when marking grooves for installing shelves in a cabinet (Figure 2). There, parallelism is critical. The reference edge should be planed to a flat surface, ideally for both sides, to avoid tension that could twist the shelves. Figure 2 shows two variants: A (correct), where two inner edges are planed and used to mark grooves—resulting in parallel lines and a tension-free assembly. Variant B (incorrect) shows one vertical edge with a slight curve, causing the grooves to pull the construction out of square.

Another example: creating a shoulder at a tenon. If the reference edge is curved, the shoulder may still wrap around the tenon, but it could result in either a visible gap (A) or a joint misaligned from square (B).

Understanding the value of right angles as a tool allows us to use them efficiently, avoiding errors and producing precise furniture or woodworking projects.
How Should a Woodworking Square Be Built?
An ideal square should have a solid base to press firmly against the reference edge. That’s non-negotiable. The blade length and base width depend on your work. A 12 inch square is standard and suitable for most shop tasks. Shorter squares are more convenient for small workpieces but less accurate. Longer ones (like 24 inch) give more control.
There are also tiny squares with about 3/16 inch -wide blades used for checking tight joints like dovetails or box joints. Such narrow blades fit in narrow spaces easily.
I use three sizes: 6, 12 , and 24 inch. I rarely use the smallest one.
How to Check if a Square Is Truly Square?
The simplest method is to draw two lines along a flat reference edge—once with the square base on the left, once on the right. If the lines converge, as in Photo 3, the square is inaccurate.

Such a square is useless unless adjustable. Sadly, many new squares fail this test. Always check before buying. Some can be adjusted. In this article, I focus on the Stanley square, which I use. With combination squares, things are more optimistic—some models like the Starrett are extremely precise and delivered perfectly square (though unadjustable). The downside? Price—around 200$. A cheaper alternative is the Stanley version, ideally with a cast iron base and metal ruler (as I recommended here: https://www.bensariworkshop.com/podstawowe-narzedzia-stolarskie-od-czego-zaczac/). It costs about 30$. Unfortunately, out of many I’ve tested, none were square. But it can be fixed.
What Determines the Right Angle in a Square?
Let’s start with the elements responsible. If you loosen the clamping screw and remove the ruler – see Photo 4 –

you’ll see two pins in the groove that hold the ruler—one before and one after the clamp screw (Photo 5).

The angle depends on those pins. Identify which pin causes deviation. If the square shows an obtuse angle, file down the left pin (closer to the square base). If it shows an acute angle, file the one closer to the 45° side. Use a flat needle file and secure the base in a vise (Photo 6).

Test the square frequently during adjustment using the two-line method. File until the lines become parallel. This takes about 15 minutes. At the end, use a flat file to smooth the ruler edges and remove burrs. You’ll now have a square as accurate as the Starrett.
As with all tools, it’s worth checking your square from time to time. Being conscious of the tool’s condition ensures accurate furniture and joinery. If budget allows, the Starrett is an excellent choice—it’s the original design from the 19th century. But if your budget is tight, a well-tuned Stanley will serve you just as well.

